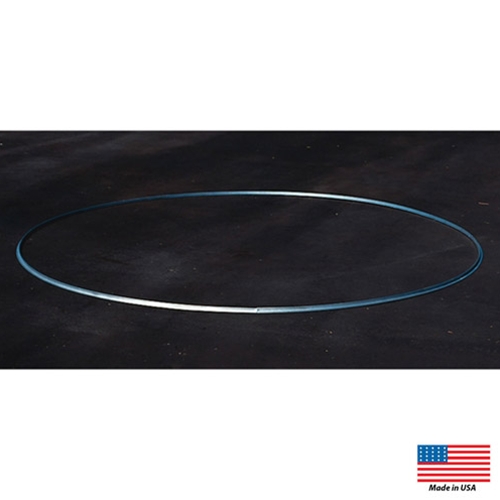
Hammer Ring Installation Instructions

INSTALLATION INSTRUCTIONS FOR 1266 HAMMER RING
- Locate the center of the mounting surface that you are
going to mount the ring down to and make a mark. - Using a tape measure, measure 3’6″ out from the center
mark and make a mark. - Using a string and a piece of chalk (or other suitable marker)
as a compass, have one person hold string on the center mark
and the other person using the string and chalk as a compass
at second mark and make a circle on the mounting surface. - Take one of the aluminum arcs and place it over the mark
make with the compass with the verticle flange directly over
the mark. - Mark the location of one of the two holes closer to the center
of the arc. - Using a drill with a 1/4″ masonry bit, drill into the mounting
surface approximately 1″ deep. Drive in one of the nylon
anchors supplied with the discus ring. Then place the arc back
on top and using one of the screws supplied, anchor the arc to
the mounting surface. Continue on with the other holes in the
arc. It may be necessary to pull in or push out on the arc to keep
it directly over the chalk line. Anchor the three remaining holes
in that arc. - Take another arc and butting it up against previously installed
arc repeat Step 6. Continue on around the ring until all four arcs
are in place. Check all screws to be sure they are tight. Ring
is now ready for use.
SKU: 1266II
